


Foam Rolling Tips for Baseball and Softball Training
Use these foam rolling tips from Allegheny Health Network to get your muscles ready for your next workout.
July 06, 2020
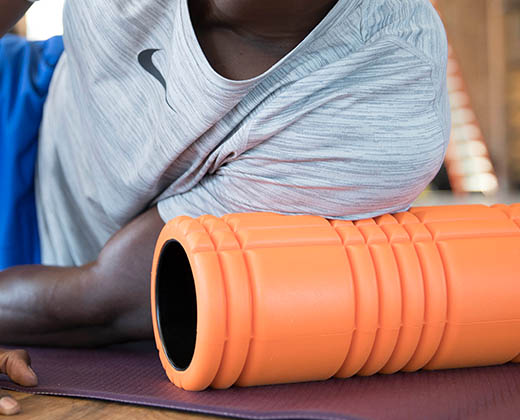
You need a proper warmup to prepare your muscle groups for baseball or softball training. Foam rolling can be a great way to get ready since it can be used on just about any body part or muscle. Frank Velasquez, director of sports performance for Allegheny Health Network, recommends a few key areas of focus.
Beginning with your quads and hip flexors, start in a plank position. The foam roller should be parallel to your waistline. “The front side of our body carries a lot of stress,” Velasquez says. As a result, he recommends rolling out the entire muscle.
To achieve this, walk back and forth on your arms while in your plank position. Work the foam roller from the top of your knee to the front of your hip.
BONUS PRO TIP: Velasquez says to walk with your forearms rather than your hands to help eliminate potential hyperextension in your lower back.
After a few repetitions, you can move on to foam rolling your iliotibial, or IT, band. “Your IT band is a cartilaginous band that’s on the side of the leg and it runs from the side of the hip to the side of the knee,” Velasquez says.
This is a high-stress location, so it’s crucial that you roll this area. To do this, simulate a side plank by resting your forearm on the ground while balancing on the foam roller along the side of your leg between your knee and hip. The IT band runs from the side of your knee up to the side of your hip. Be sure to get a full stretch with each roll by walking down and back along this path. Perform three to four rolls on each leg, and then you’re ready to move on.
Your next foam rolling movement should target the glutes. To do this, sit on the foam roller, positioned so that you target one glute at a time. An easy way to do this is to take the ankle on your target side and rest it on your adjacent knee. Roll from your high hamstring to your lower back, repeat, then switch sides. Once you become more accustomed to foam rolling, finding your spot will be much easier. “Your body will tell you where it’s sore and where it needs to be loosened,” Velasquez says.
Your calves should be rolled out as well. Velasquez notes that you can either roll both calves at once or individually, but stresses the importance of getting a full roll from the Achilles tendon all the way to the knee. “We go 'toes up’ and we go 'toes out’ and we go 'toes in’ when we roll out the calves,” he says.
After calves, Velasquez suggests focusing on the posterior shoulder. “This one is a must. It’s hard to get to this area, and it’s an area that is often sore from throwing a baseball or softball,” he says.
To find the posterior shoulder for a proper roll, position the foam roller in your armpit and roll from your lat up a little into your tricep. It can also help to have your arm positioned at a 90-degree angle. You might feel some discomfort when you’re rolling, according to Velasquez. “But we want to roll it out because it brings blood to that area and it helps keep the tissue healthy.” You can roll out both arms for this exercise if you choose, but your throwing arm should be your main focus.
Your final foam rolling movement is what Velasquez calls “chest openers.” Activities like driving, eating or typing can compress your pectorals throughout the day. “At the end of the day, we like to lie parallel on the foam roll where your trunk and your head are supported and you just let gravity open up your chest,” Velasquez says.
Follow along with these foam rolling stretches and loosen up for a day of training. Roll out those muscles and joints for improved performance on the diamond this season with these warm-up Pro Tips.
Pairing your foam rolling routine with pre-training activation exercises targeting areas such as your glutes, core, and scapular musculature can help you create an impactful warm-up program for baseball and softball training.


© 2025 DICK's Sporting Goods
*Price Promotions - Due to manufacturer restrictions, select new release and other specified products are excluded from price promotions. Additionally, there are restrictions on the use of coupon codes.
If you are using a screen reader and are having problems using this website, please call 877-846-9997 for assistance.