
Baseball 101: How to Teach Your Child to Swing a Baseball Bat
Use these six simple steps to teach your child how to swing a baseball bat.
January 11, 2016

Every player starts somewhere. For most, it’s the backyard or the neighborhood park, where they’ll first pick up a bat and glove and learn the basics of baseball.
And those early moments, however small, are especially critical. This is when young players learn good habits, good form and good stance—not to mention a love of the game.
Teach your child to hit a baseball with this step-by-step guide. Remember, for young players there’s no substitute to regular one-on-one practice. Most importantly, stay patient and focused on the fundamentals. Over time, your child’s swing will improve and their confidence will grow.
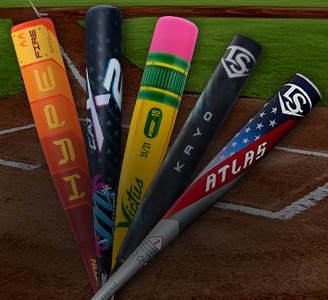
Step One: Find The Right Bat
First, keep in mind that smaller players need smaller bats. Begin with the lightest youth baseball bat you can find that meets your local league guidelines, and work your way up from there. When in doubt, use the arm test: Have your child hold the bat with their arm extended outward, parallel to the ground. If the bat is an appropriate size, they should be able to hold it for about 30 seconds without their arms drooping.
Always consult with your coach or local league before purchasing a youth baseball bat. Many leagues do not permit composite bats, for example.
Tip: A bat’s “drop” is its length-to-weight ratio, and it’s denoted as a negative number. The lighter the number, the lighter the bat—and the lighter the bat, the easier it is to swing. Most youth bats range between -10 and -13.5.
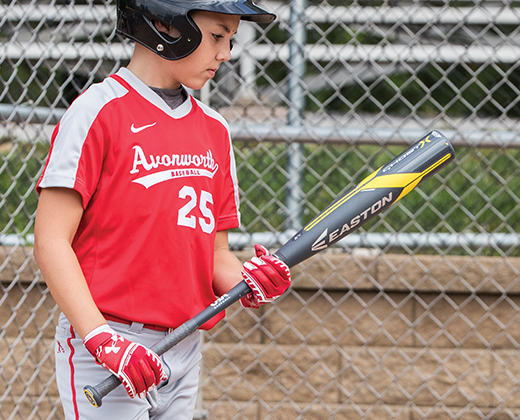
Step Two: Help Them Get A Grip
Right-handed batters should wrap their left hand below the right. Their grip should be snug but not too tight, and knuckles should align. The littlest batters might benefit from “choking up,” holding the bat a little higher up from the handle. And of course, hand position should be switched for lefties.
Step Three: All In The Stance
The body should be faced perpendicular to the plate (and it is helpful to have a practice home plate or an object representing the plate). Knees should be slightly bent, and feet should be shoulder-width apart. Ensure hips, knees and shoulders are square.
Tell your player to keep their shoulder facing the pitcher, with the tip of the bat pointing upward to the sky (many players have a tendency to put the bat on their shoulder and point it behind them). Tell your kids to “hide their hands.” It’s an easy way for them to remember that the bat should be held behind their head—not drooping downward toward their chest.
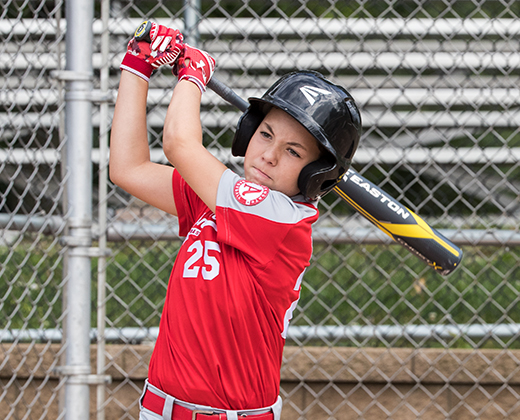
Step Four: Swing It Through
Have your child stand in position and practice swinging all the way through—carrying the bat level and through a full twisting motion. Focus on two things: developing a level swing and training your child to watch the ball through the plate.
The whole swing is in the hips. Try to get them in the habit of twisting their whole body, rather than just swinging the arms. As they take a small step toward the pitcher, their hips should begin to rotate, and hands should follow hips through the strike zone and over the plate.
When your child is done swinging, their hips should be facing the pitcher and their back foot should pivot, not come off the ground.
Step Five: Skip The Baseball
Start out with a practice baseball, whiffle ball or tennis ball. These lightweight balls are easy to hit and help instill confidence into your budding athlete. An alternative ball helps them master form, stance and a full swing—good habits they’ll need for practice and play. Over time, you can incorporate a baseball or softball into your backyard training.
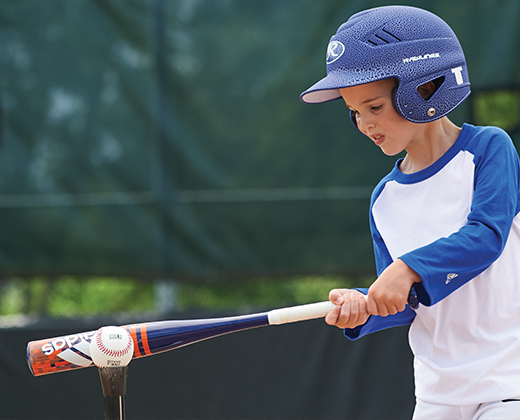
Step Six: Tee Or No Tee?
Again, early batting practices are a great time to learn proper batting stance and swing-through. Start practicing these techniques with a batting tee, rather than hitting from a pitcher.


© 2025 DICK's Sporting Goods
*Price Promotions - Due to manufacturer restrictions, select new release and other specified products are excluded from price promotions. Additionally, there are restrictions on the use of coupon codes.
If you are using a screen reader and are having problems using this website, please call 877-846-9997 for assistance.